
In the digital age, screen recording has become a fundamental skill, whether you’re a content creator, a business professional, or simply someone who wants to share their screen. Whether you’re looking to create tutorials, record gameplay, or capture an important presentation, knowing how to record your screen effectively can save you time and improve the quality of your content. In this guide, we’ll walk you through everything you need to know to master screen recording in just a few minutes, even if you’re a complete beginner.
Why Screen Recording Matters
Before diving into the “how” of screen recorder, it’s important to understand why it’s such a valuable skill. The ability to record your screen allows you to:
- Create engaging content: Whether it’s for YouTube tutorials, educational courses, or social media, a well-recorded screen capture can significantly enhance the quality of your content.
- Troubleshoot and share issues: If you’re experiencing a software problem, recording your screen can help provide clear instructions for support teams or colleagues.
- Demonstrate complex tasks: Sometimes words aren’t enough to explain something. A screen recording can offer a visual guide that’s much easier to follow than text alone.
With the importance of screen recording clear, let’s move on to how you can start recording your screen like a pro.
Getting Started: Tools You’ll Need
Before you hit “record,” you need the right tools.Thankfully, there are plenty of screen capturing programs available, both free and paid. Your operating system and the complexity of your requirements will determine which tool is best for you.
1. Built-in Screen Recording Software
- Windows: If you’re using Windows 10 or later, the Xbox Game Bar is an excellent built-in tool that allows you to record your screen quickly without any third-party software.
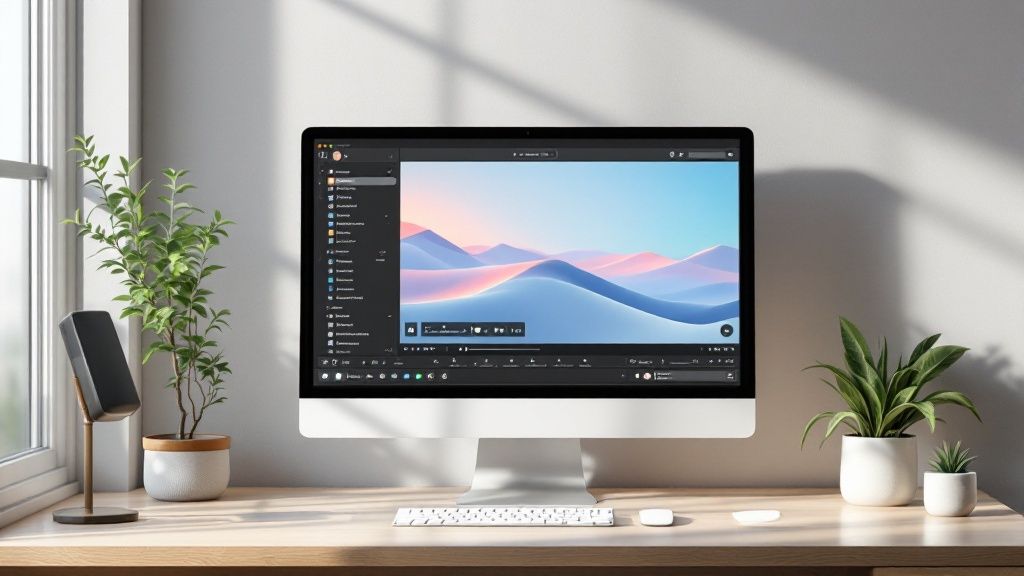
- Mac: QuickTime Player allows you to record your screen on macOS. It is a simple program with rudimentary screen capturing features.
2. Third-Party Screen Recording Tools
If you’re looking for more advanced features like editing, annotations, or the ability to record multiple screens, third-party tools can help.
- OBS Studio (Open Broadcaster Software) – A powerful, open-source software that’s great for both beginners and advanced users. It’s especially popular for live streaming.
- Camtasia – A paid software that provides extensive editing features for your screen recordings, making it ideal for professionals.
- Loom – is a user-friendly application that makes it simple to share screen recordings and is excellent for communication at work.
- ScreenFlow – A Mac-exclusive software that combines recording and editing in one package.
For now, let’s keep it simple and focus on the built-in options.
How to Record Your Screen: A Step-by-Step Guide
Let’s walk through the process of screen recorder online on both Windows and Mac.
Using Windows to Record (With the Xbox Game Bar)
- Open the Game Bar: In order to access the Xbox Game Bar, press Windows Key + G. You might be prompted to enable it if you haven’t done so already.
- Click the “Record” button (a circle icon) in the Capture widget to begin recording. If the Capture widget isn’t visible, click on the “Widget Menu” and select “Capture.”
- Stop Recording: When you’re done, click the “Stop” button, or use the shortcut Windows Key + Alt + R to stop the recording.
- Find Your Recording: Your recorded videos will be saved in the “Videos” folder, under a subfolder named “Captures.”
Recording on Mac (Using QuickTime Player)
- Open QuickTime Player: Launch QuickTime Player from your Applications folder.
- To begin recording a new screen, select File > New Screen Recording from the QuickTime Player menu.
- Select Your Recording Area: You can either record the entire screen or drag to select a specific portion of the screen.
- Start Recording: To begin recording your screen, press the red “Record” button.
- Stop Recording: When you’re finished, click the stop button in the menu bar, or press Command + Control + Esc.
- Save Your Recording:QuickTime will ask you to save the file after the recording is finished. Choose a destination, and you’re done!
Essential Tips for Better Screen Recording
Now that you know how to record your screen, here are some tips to make your recordings look more professional and polished:
1. Choose the Right Resolution
Make sure your screen resolution is high enough for the content to be clear. Typically, a resolution of 1920×1080 (Full HD) is a good standard. If you’re recording software that has fine details (like a code editor), consider increasing the resolution.
2. Examine the audio quality.
Make sure you have a good microphone if you plan to narrate your screen capture. Poor audio can ruin an otherwise great recording. Use noise-cancelling headphones and a dedicated mic rather than the built-in one in your computer.
3. Declutter Your Desktop
Before starting a recording, clean up your desktop. Close unnecessary windows, remove distracting icons, and make sure your workspace is organized.A cluttered desktop might divert viewers and give the impression that it is not professional.
4. Highlight Important Areas
Some tools allow you to highlight areas on your screen (such as mouse clicks) to draw attention to specific points. Using such features can make your content easier to follow.
5. Use Keyboard Shortcuts
Learn keyboard shortcuts for pausing, starting, and stopping your recordings. These shortcuts allow for a smoother recording experience and reduce the chances of mistakes or interruptions.
6. Test Before You Record
Before diving into a full recording session, take a few moments to test your setup. Do a short test recording to check for audio clarity, screen resolution, and any unwanted distractions.
Editing Your Screen Recording
Once you have your screen recording, you might want to do some quick edits, such as trimming the start and end, adding captions, or enhancing the audio. Here are a few tools you can use:
- Windows Photos (for basic trimming)
- iMovie (on Mac)
- Adobe Premiere Pro (for advanced editing)
Editing helps to remove any unnecessary parts and make your recording more engaging for the viewer.
Sharing Your Screen Capture
Once you’ve finished recording and editing,It’s time to distribute your work. The platform to which you post the movie will depend on YouTube, share it via email, or simply send a link using a service like Google Drive or Dropbox.
- YouTube: Ideal for tutorials, demonstrations, or gameplay recordings.
- Email: Send videos directly to colleagues or clients if the file size is small enough.
- Cloud Storage: Share large files easily by uploading them to cloud platforms like Google Drive or Dropbox.
Conclusion
Mastering screen recording doesn’t have to be complicated. With just a few basic tools and techniques, you can create professional-quality screen recordings in minutes. Whether you’re creating content for a global audience or just sharing tips with friends, screen recording is an invaluable skill that can enhance your communication, productivity, and creativity. Take the time to explore the tools and experiment with different recording techniques to see what works best for you.